


My Grilling Tips & Tricks
and a very good, very easy homemade BBQ sauce

It’s officially grilling season, and I couldn’t be happier. While I grill year-round, there’s something truly magical about the combination of warmer weather, longer summer evenings and those crispy, charred edges and smoky flavours that are the hallmarks of summer barbecues.
By June in Manitoba, temperatures start to reach levels where the grill becomes an extension of my kitchen. Grilling is one of my favourite ways to prepare a meal in very little time. It’s low-prep with a lot less clean up, all when you’d really rather be outside, far from your oven.
Today I’m sharing my tips, must-dos and grilling essentials to help you master the grill and make the most of the summer months. While I love cooking over an open flame, I am truly happiest when cooking with a gas grill. So much more than just turning a knob, I’ve found that it gives me far more control over timing and temperature, whether it be for grilling, roasting or even baking.
My go-to grilling rules
PRE-HEAT YOUR GRILL
Just like pre-heating your oven, you want to preheat your grill to ensure it has reached a controlled, even temperature throughout the cooking chamber and that it’s hot enough to get that sought-after sear and sizzle when you first put your protein or veggies on it. The sweet spot for most ingredients is 350-450°F or 175-232°C, but I’ll even turn it up to 500ºF/260ºC to get a good sear on a rare steak.
Tip: A hot, pre-heated grill also helps keep food from sticking to it.
PREP YOUR GRILL GRATE(S)
Once the grill is preheated, clean the grates using a good grill brush or scraper to scrape off any charred bits or debris. Waiting until the grill is hot makes it a lot easier and preps the grates for greasing. A paper towel dipped in a neutral oil is all you need to lightly grease the grates without any excess oil dripping into the flames and causing flare-ups.
KNOW YOUR TEMPERATURES
If your grill is in good working order, cooking temperatures are equivalent to those in your oven. Even if your grill comes with a built-in thermometer, however, its accuracy can be questionable. I always recommend using an instant read digital probe, often called a meat thermometer, to ensure temperatures fall within recipe and safety guidelines—especially when grilling meats. The one I use is highly rated and reasonably priced, and I use it for cooking, roasting and baking all the time.
Getting the temperature right also applies to your ingredients. Take your food out of the fridge well before grilling so that it’s almost at room temperature. If ingredients are cold, the edges may burn before the inside is properly cooked.
Tip: If using bamboo skewers, be sure to soak them in water before using to prevent scorching.
TIMING IS EVERYTHING
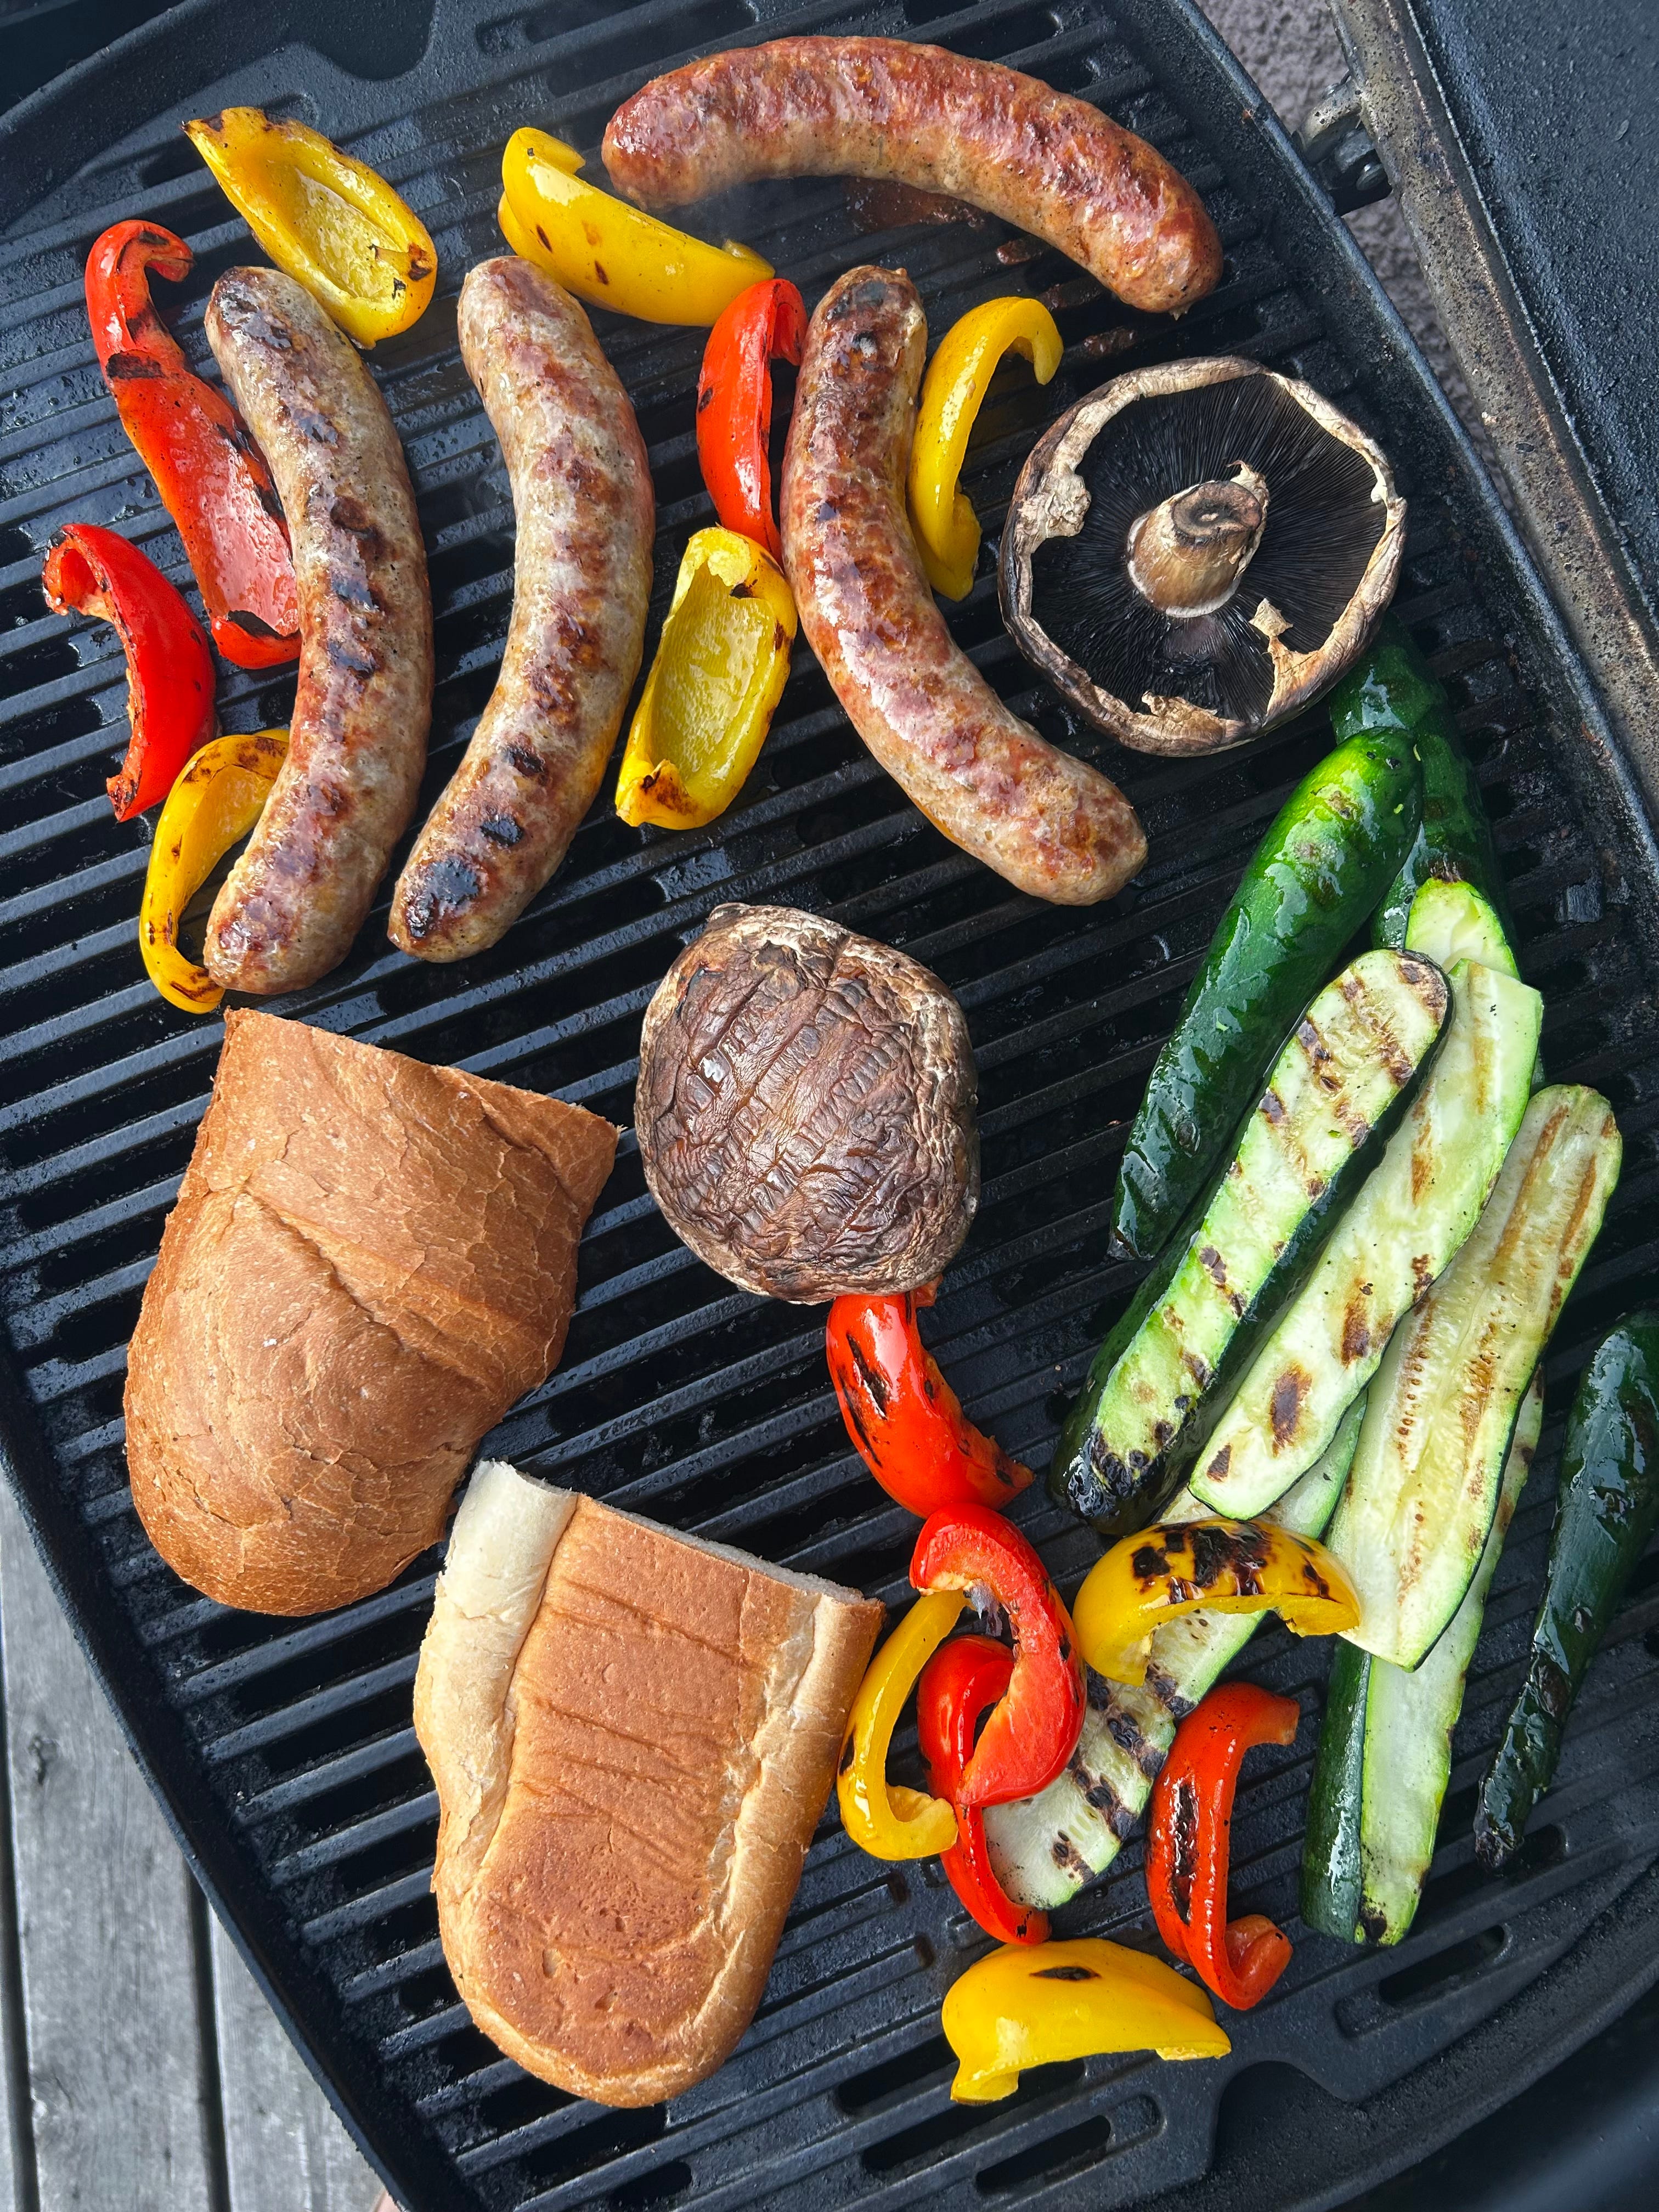
When grilling more than one item, start by adding the ingredient that requires the longest cooking time. This could look like placing potatoes baked in foil on the grill first (30 to 40 minutes), followed by your protein (20 minutes), then the vegetables (1-10 minutes) with denser vegetables to start and smaller, tender fruits or vegetables at the end. You can even wait to grill your fruits and vegetables until you’ve removed your protein from the grill to let it rest.
DON’T RUSH IT
Once you put the goods on the grill, it’s important to leave everything alone before checking for grill marks because the surfaces need time to sear so they won't stick. Keeping the grill cover closed will also help minimize charring and return the grill to a consistent temperature. Some sticking could still happen, but don’t worry. You will know when your ingredients are ready to be turn when they “release from the grill” or are no longer stuck to the grill itself, and everything will still taste amazing.
OLIVE OIL, LEMON, HERBS AND DIPS, ALWAYS
Almost anything grilled is better with a drizzle of olive oil and a little seasoning. I love to top with a squeeze of lemon and fresh herbs, especially when grilling fish, chicken or tofu. They just make everything a little brighter and bring out the best of summer. I also love to have a good dip on hand like tzatziki, hummus or white bean dip so we can just dive right into an easy dinner.
Grilling fruits & vegetables and zero waste
Once summer produce starts hitting farmers’ markets and my garden starts producing, I want it all. Like roasting in winter, grilling fruits and vegetables is also a fantastic way to transform produce that’s past its prime. From wilting romaine lettuce to soft peaches and zucchini that has seen better days, grilling gives you crispy edges and soft, smoky interiors you can dress up with just a little olive oil, crumbled cheese, nuts or dressings.
The best fruits & vegetables to grill?
Use whatever you have on hand. Nearly every fruit and vegetable can be grilled. As a general rule, grill until tender—they should be soft when pierced but not falling apart.
Tips for grilling fruits and vegetables
Wash and dry.
Cut into slices or wedges of equal size as needed to ensure equal cooking times.
Brush with olive oil and season lightly.
Start on high, direct heat; finish on low, indirect heat.
Invest in a good pair of tongs.
Know your barbecue (here’s the newest version of my grilling set-up).
Buy the good olive oil.
There are also grill baskets available that work well for things like green beans, shrimp, snow peas, shishito peppers and other small items.
A GUIDE TO GRILLING TIMES FOR FRUITS AND VEGETABLES
1-2 Minutes Grill Time:
Tender fruits and vegetables like cherry tomatoes, endive, mango, peaches, radicchio, romain lettuce, ramps, scallions and watermelon.
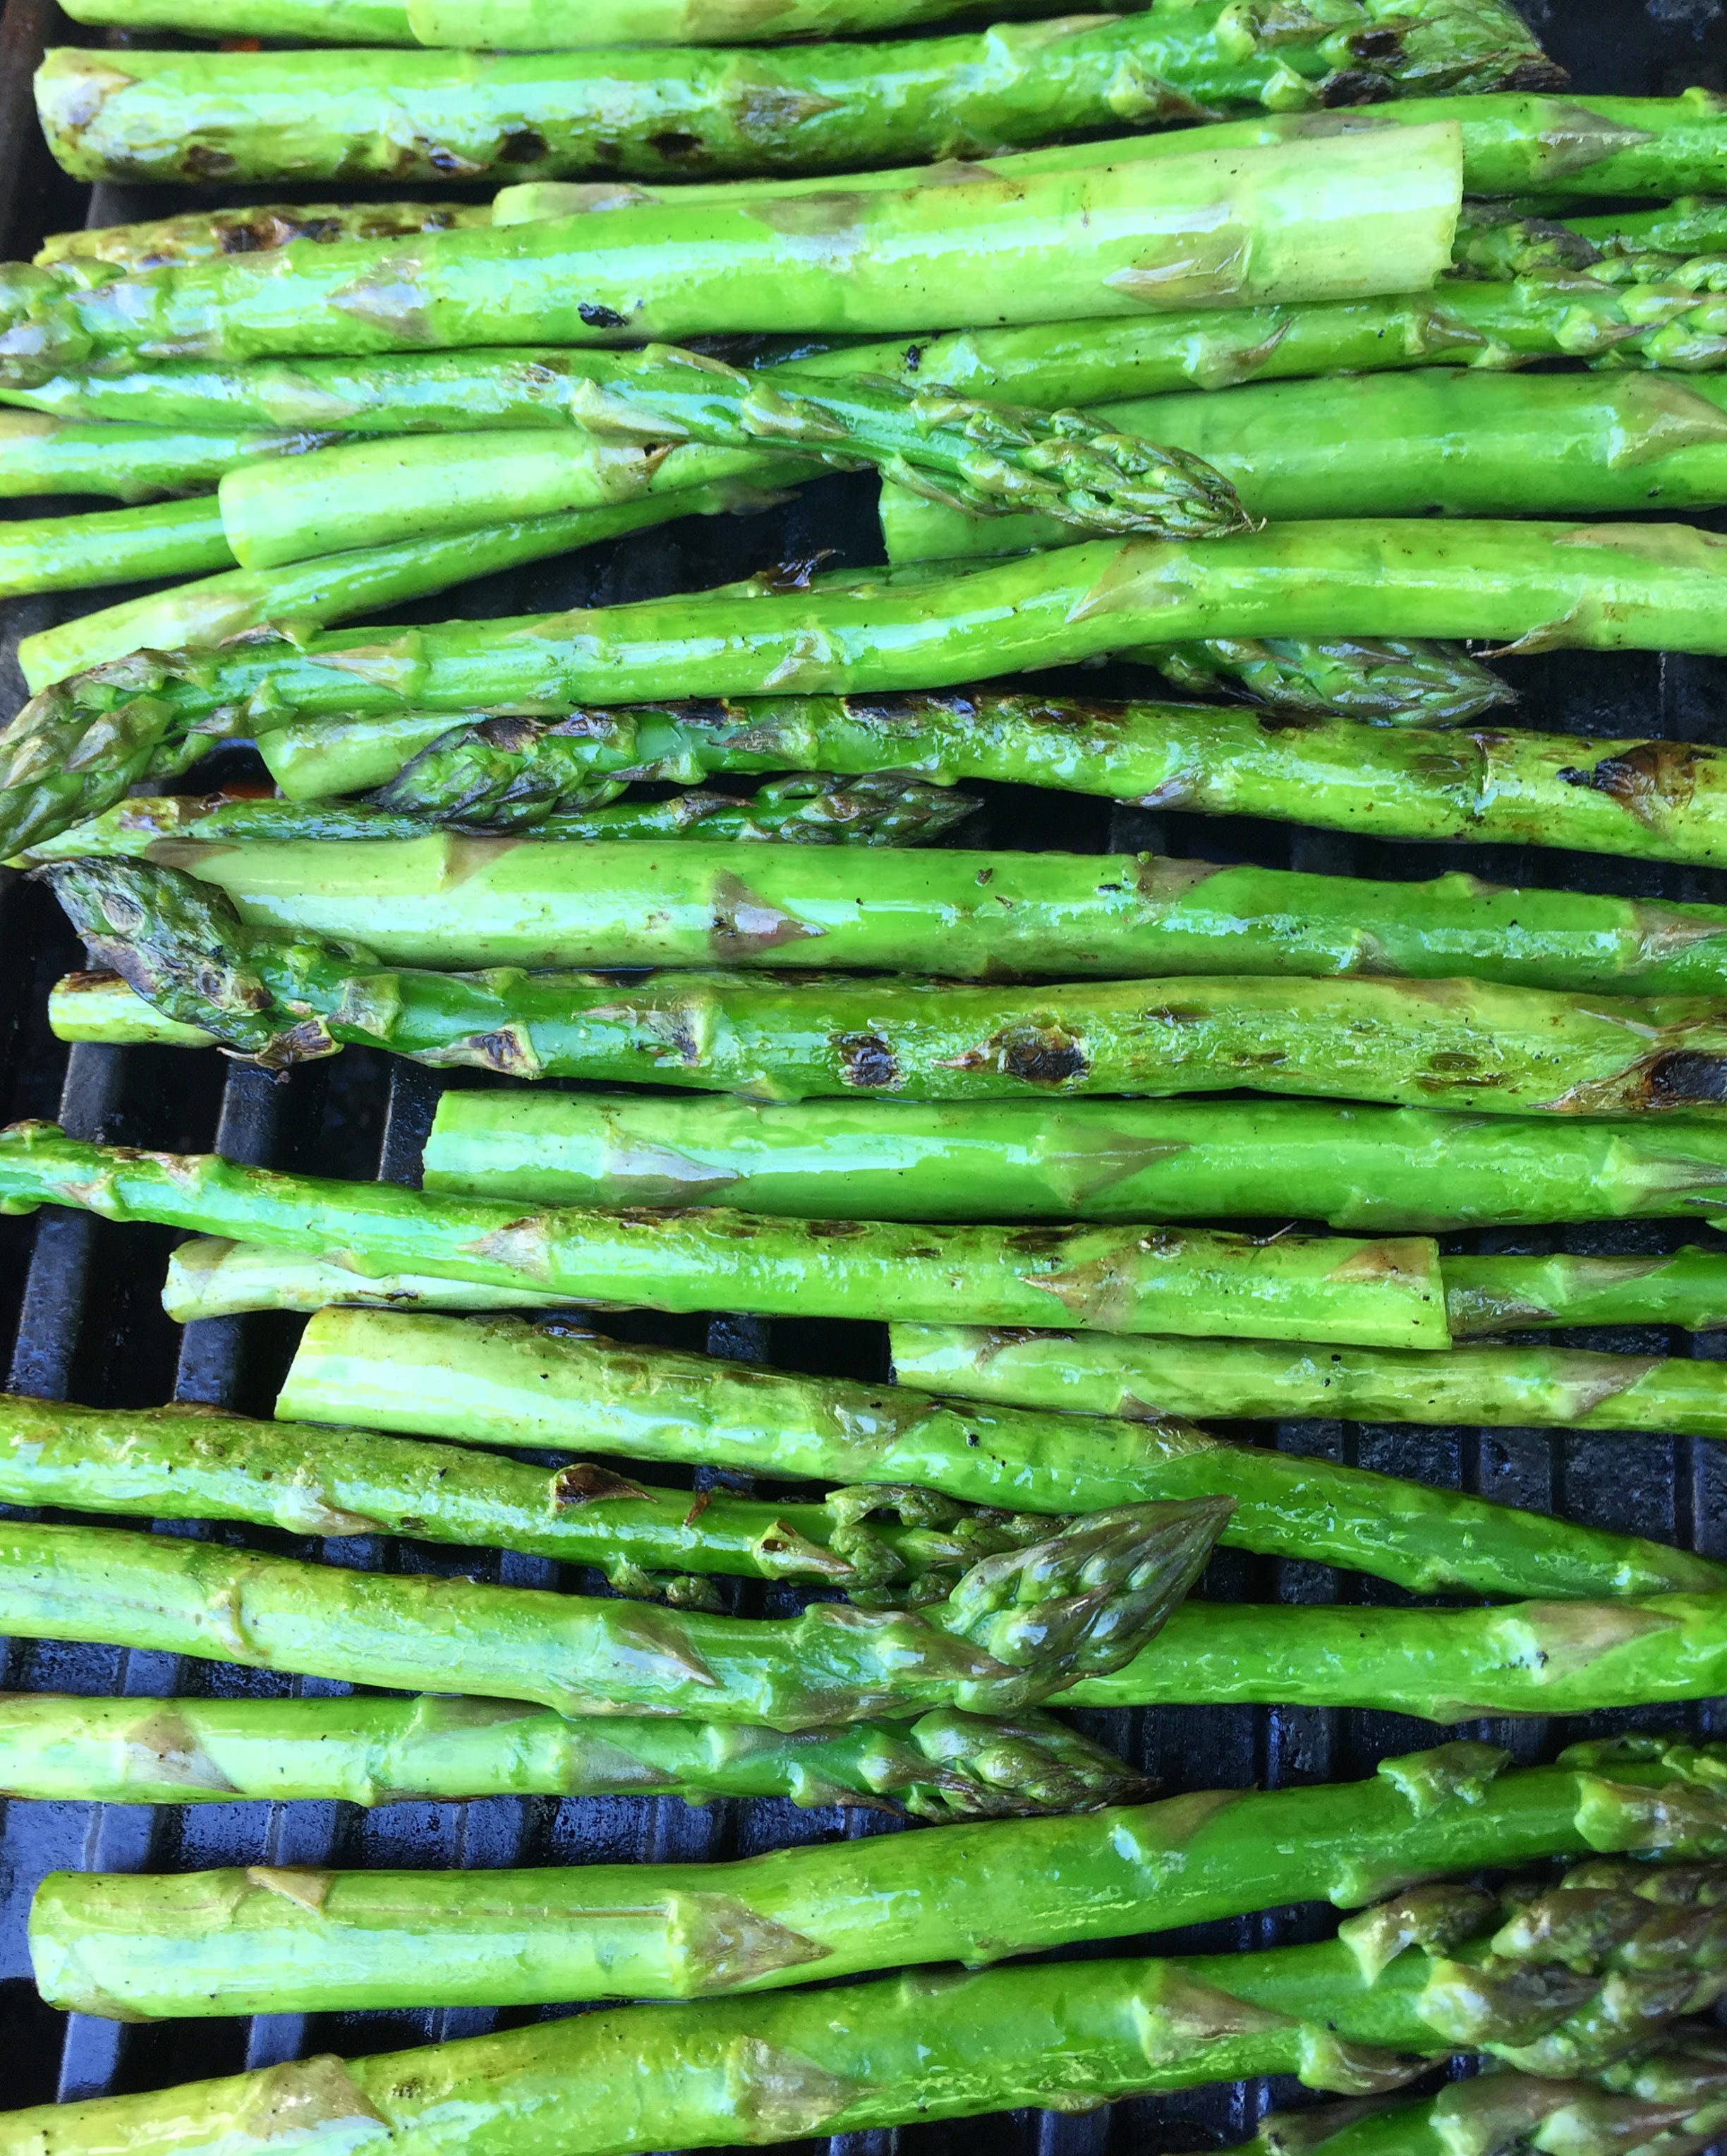
5-10 Minutes Grill Time:
Denser options such as asparagus, broccoli, cabbage, eggplant, figs, green beans, garlic scapes, okra, pineapple, shishito peppers, portobellos, sugar snap peas, sweet peppers, sweet potatoes, zucchini and other squash varieties.
Tip: When grilling vegetables, you’ll know they’re done when the pieces are hot in the middle. For fruits, look for distinct charring on at least one side, but keep a close eye and be sure to remove them before the pieces start to lose their shape.
One last thing, while not a must-have, I highly recommend purchasing a durable, heavy-weight barbecue cover like this one. A good cover will protect your grill from the elements—even against strong winds and snow storms—and extend its life.
Homemade BBQ Sauce

This homemade BBQ sauce recipe has just the right balance of sweet and tangy with rich, smoky flavours. I love that it's super easy to make with ingredients I already have on hand, and it keeps in the fridge for up to 2 weeks. It’s hot out, and this way you don’t have to turn on your oven!
Servings: 4 to 6 or about 1 cup
Total time: 20 minutes
Today’s recipe is posted below for paid subscribers. Thank you for supporting my work!